Azure AD Identity Provider
Connect ConfigCat with Azure Active Directory via SAML.
Introduction
Each SSO Identity Provider requires specific information to configure a SAML integration. The following guide will walk you through how you can connect ConfigCat with Azure Active Directory as a SAML Identity Provider.
1. Create an Azure AD Enterprise Application
-
Log in to the Azure Portal, go to the
Azure Active Directoryresource, and selectEnterprise applications.
-
Click on
New application.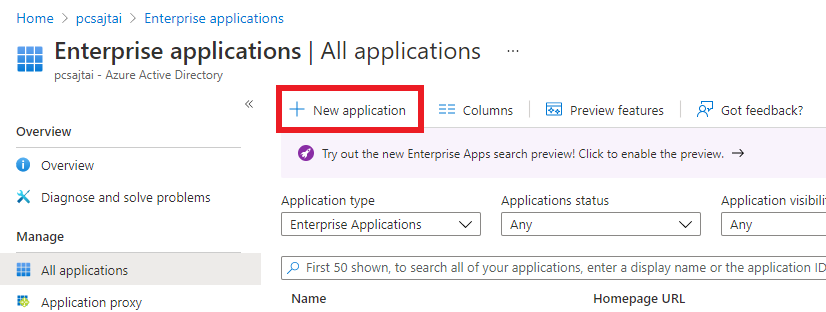
-
Click on
Create your own application.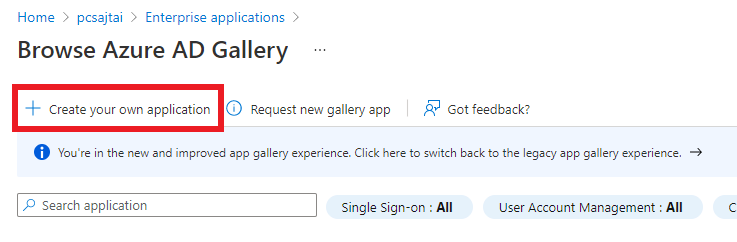
-
Enter a descriptive
App name, select theIntegrate any other application you don't find in the gallery (Non-gallery)option, then clickCreate.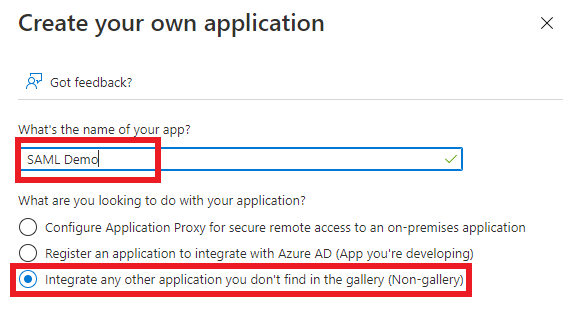
-
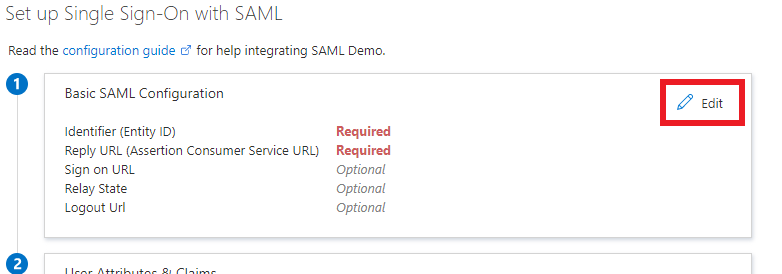
On the
Managesection of the application, selectSingle sign-on, then selectSAML.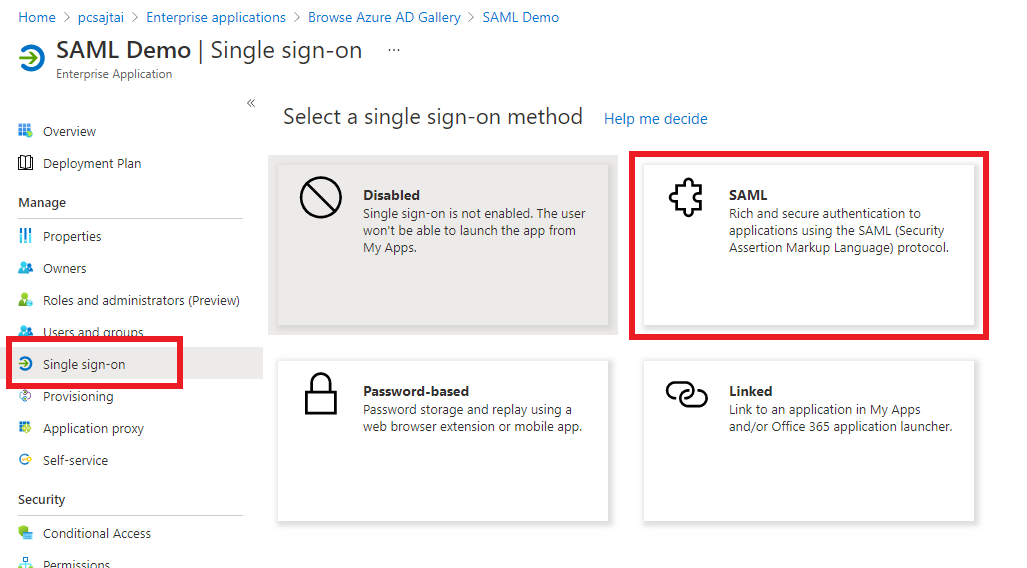
The next step will guide you on how to collect the information required for Configuring SAML in the application.
2. Configure SAML for the Azure Enterprise Application
-
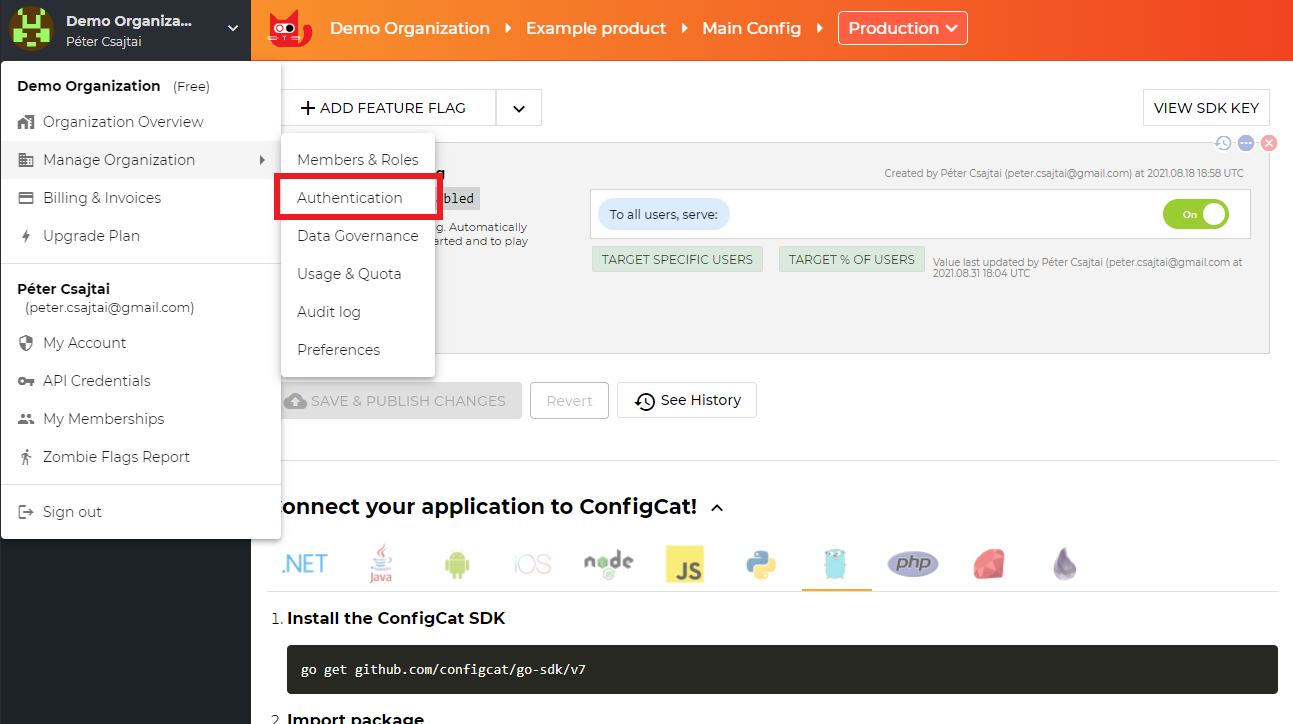
Open your organization's authentication settings on the ConfigCat Dashboard.
-
Click
ADD SAML IDENTITY PROVIDER.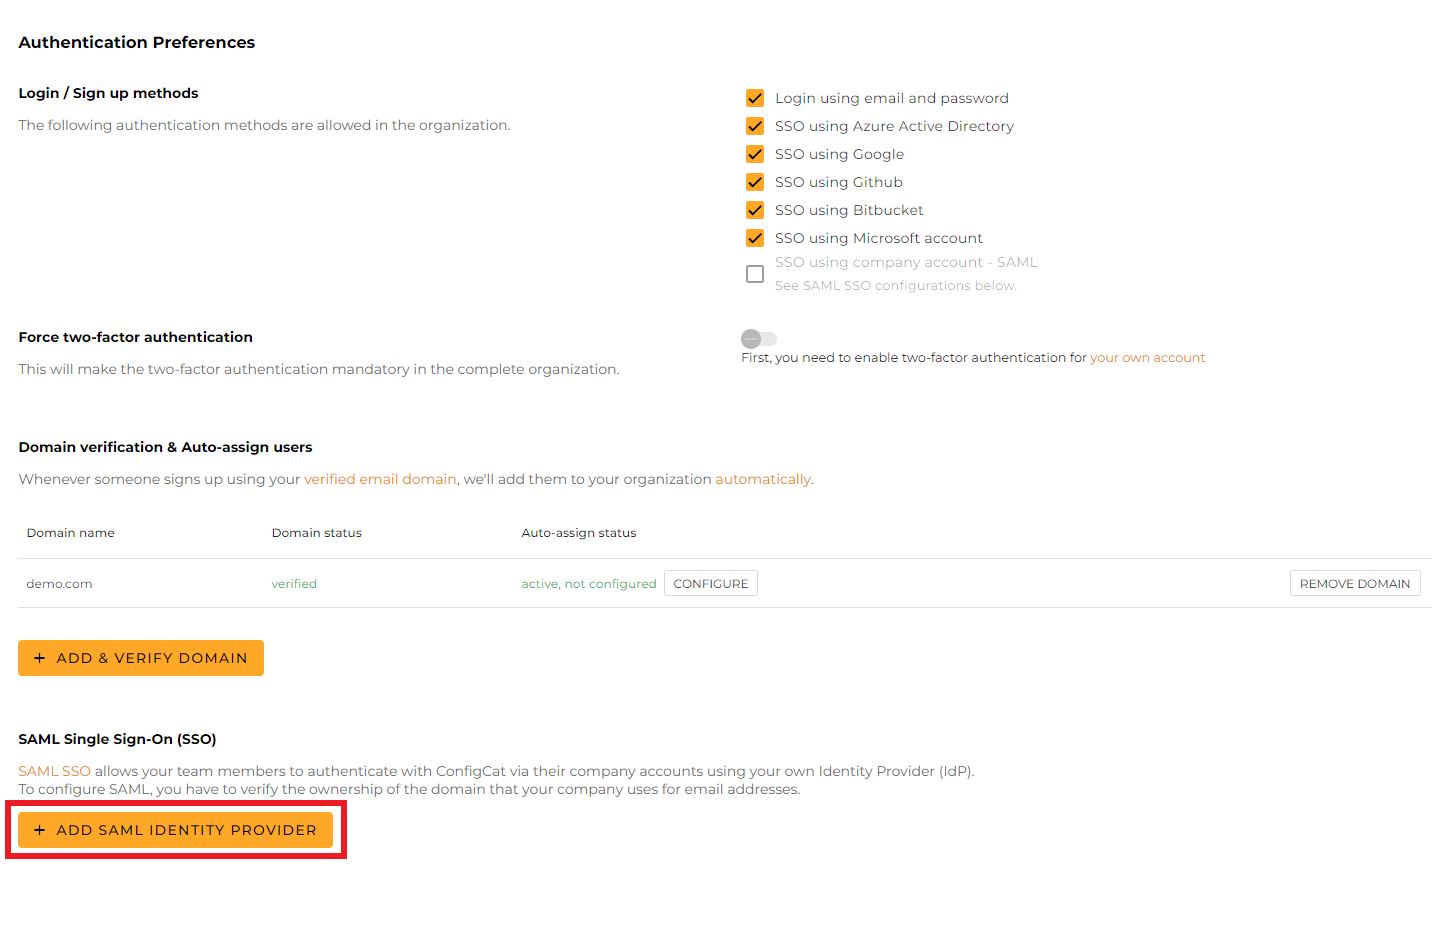
-
Give a name for your Identity Provider, and click
Create.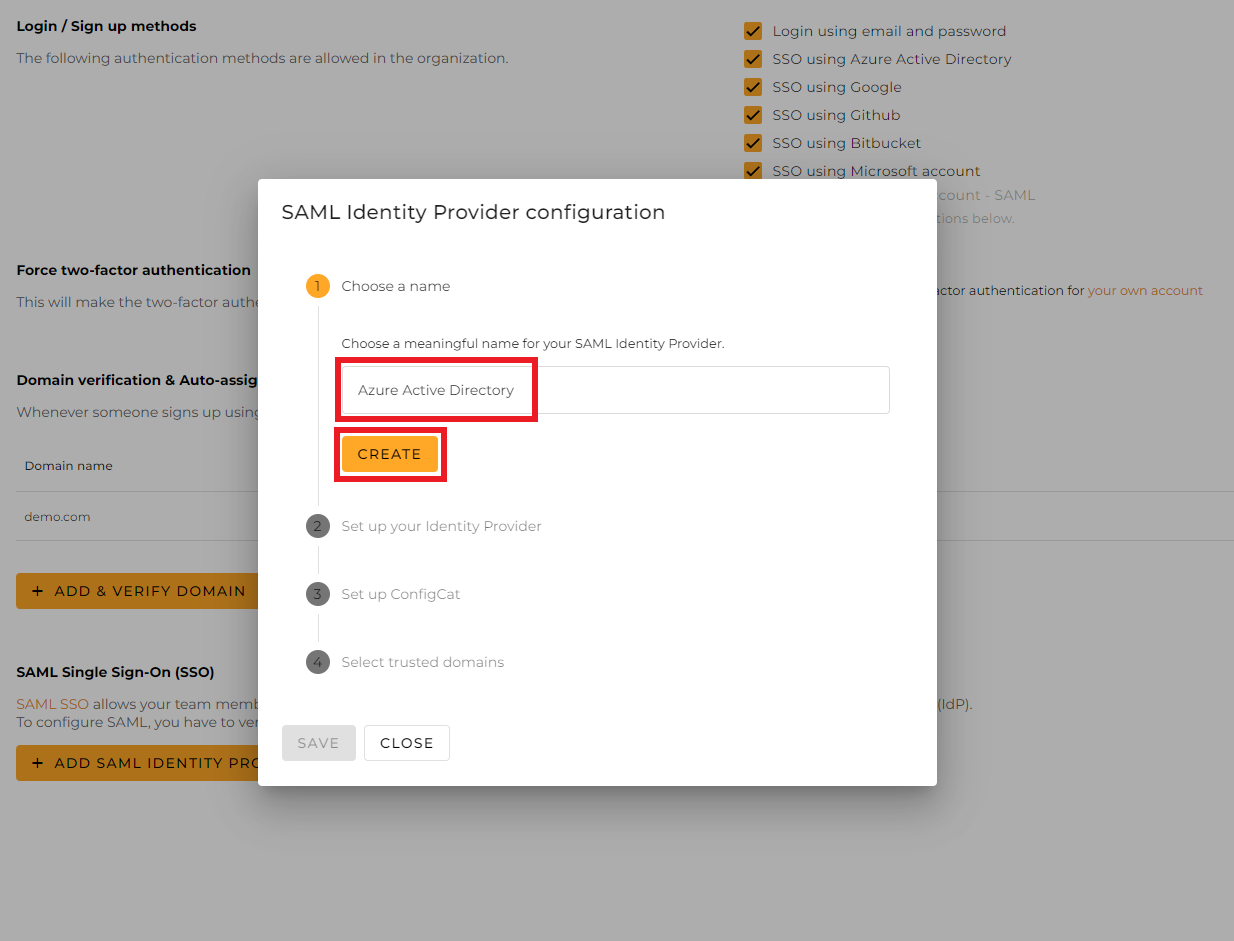
-
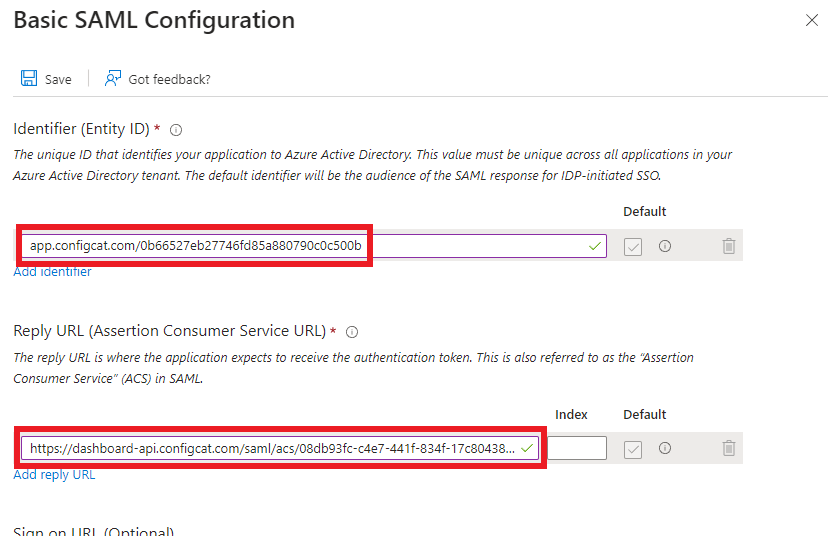
From the next section of the dialog, copy the following values and paste them into the Enterprise application.
-
Entity ID->Identifier (Entity ID) -
Assertion Consumer Service->Reply URL (Assertion Consumer Service URL)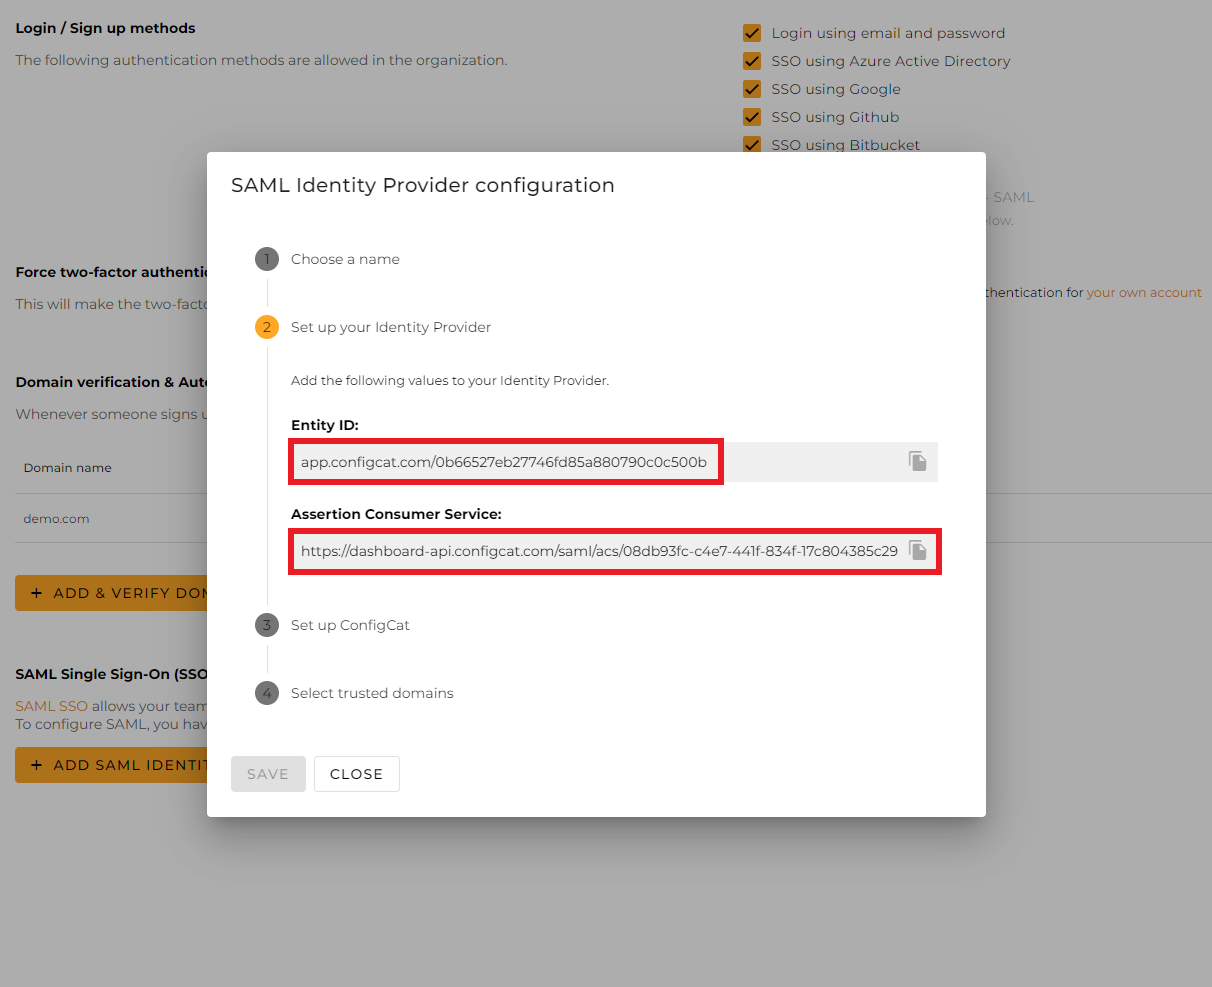
-
3. Configure ConfigCat with SAML Details from Azure
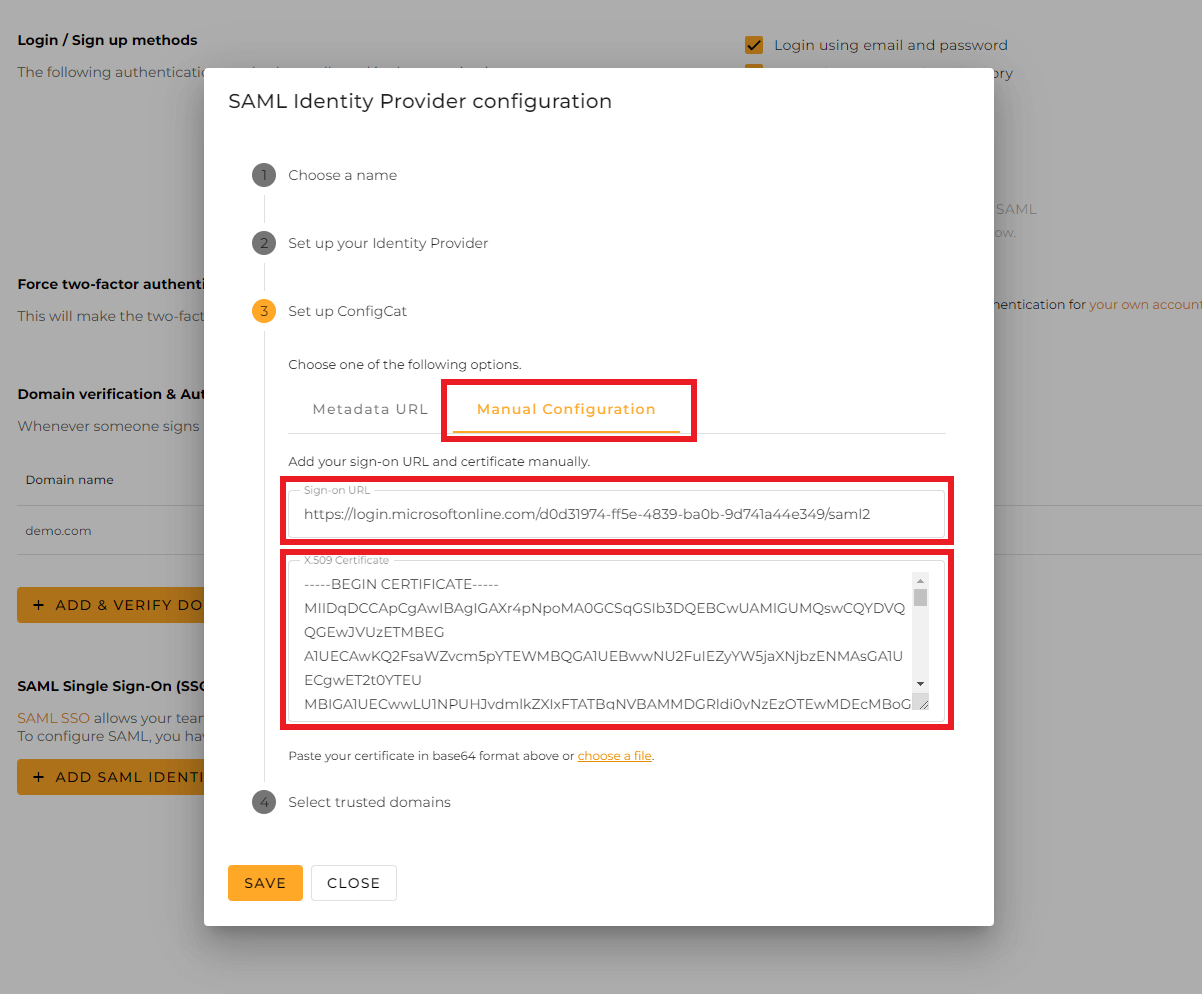
You can choose one of the following options to configure ConfigCat with SAML Identity Provider metadata.
- Metadata URL
- Manual Configuration
Copy the value of
App Federation Metadata Url.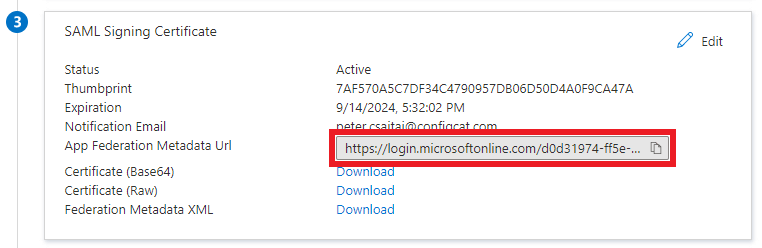
Paste the copied value into the
Metadata URLfield at ConfigCat.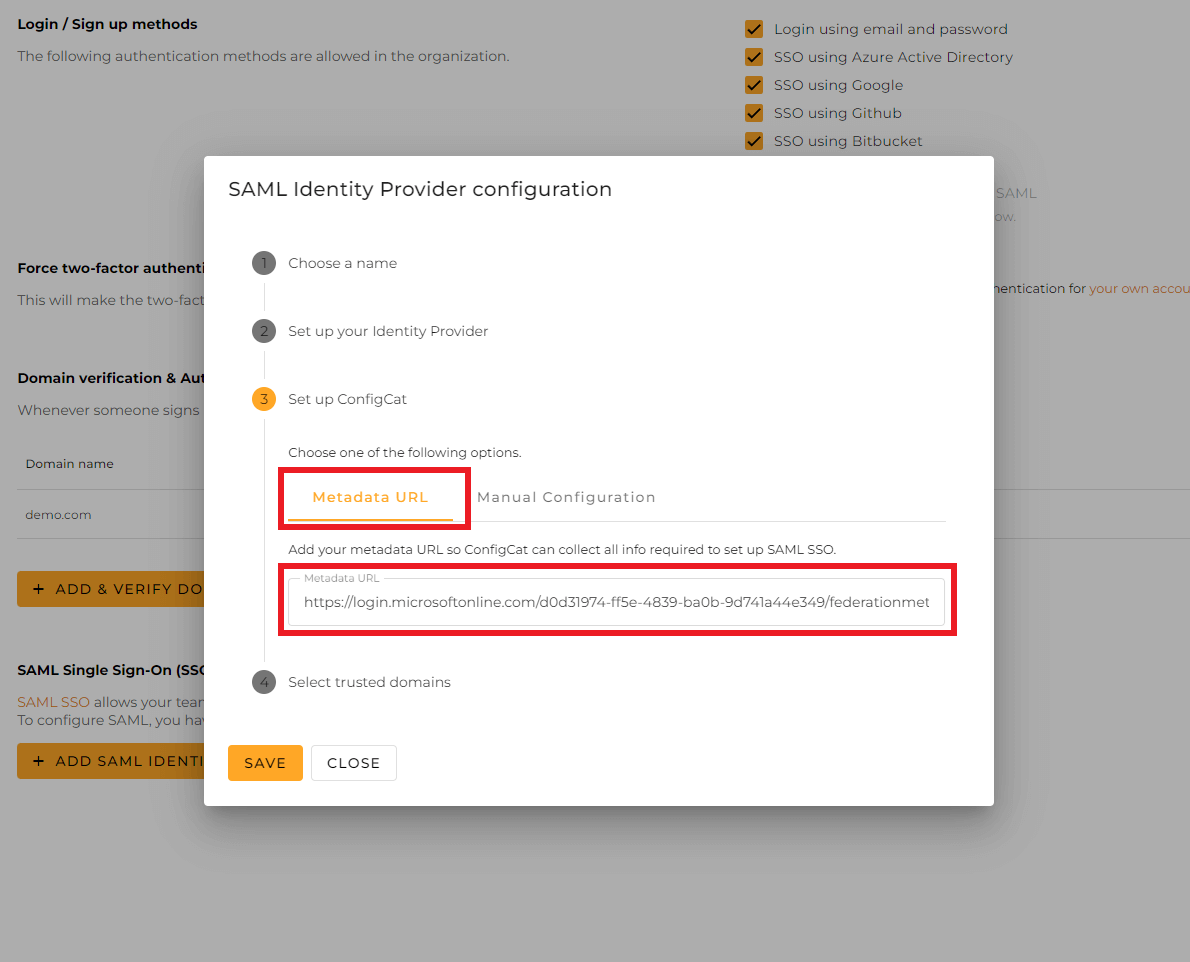
Select the trusted domains. Only user accounts from trusted domains can login with SAML SSO. You can bind multiple verified domains to a SAML Identity Provider.
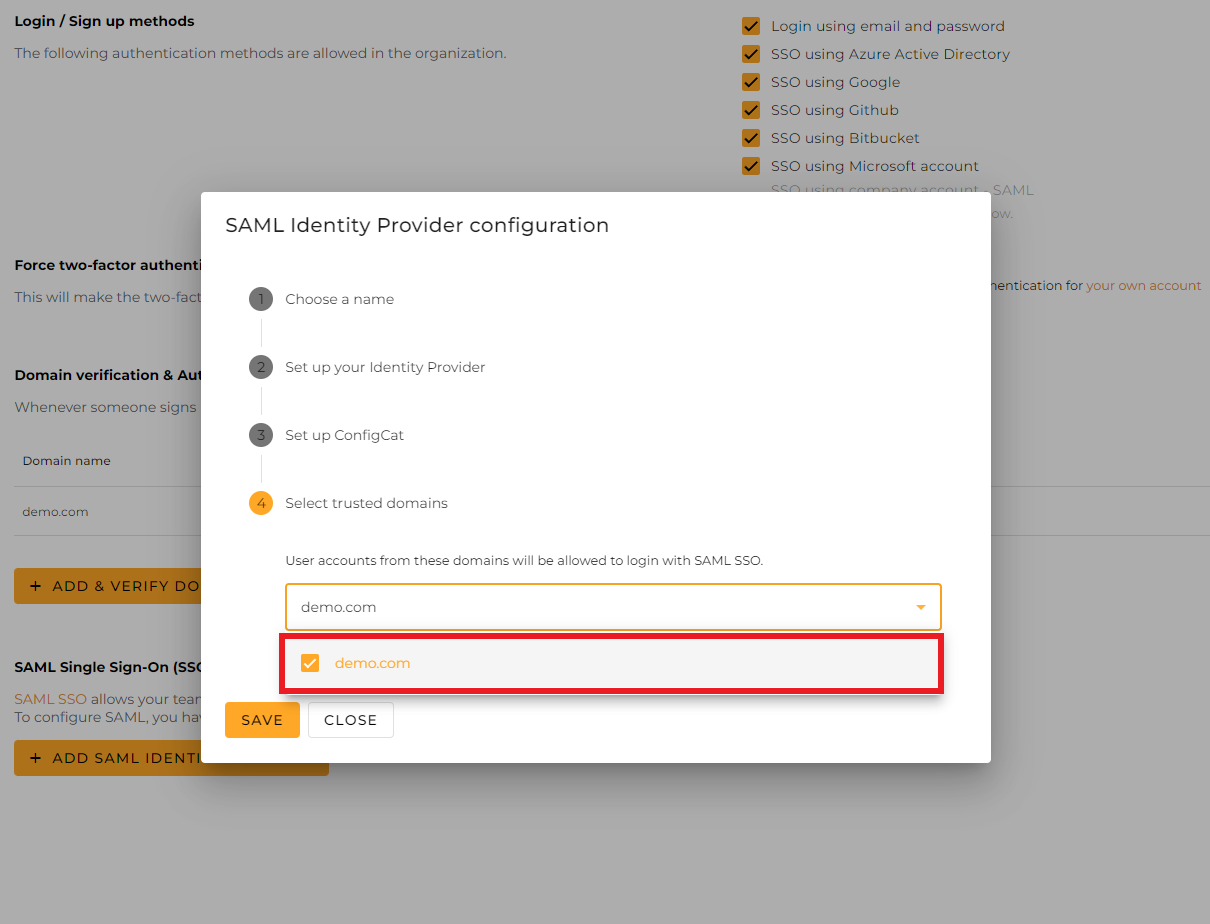
Click on
Save.
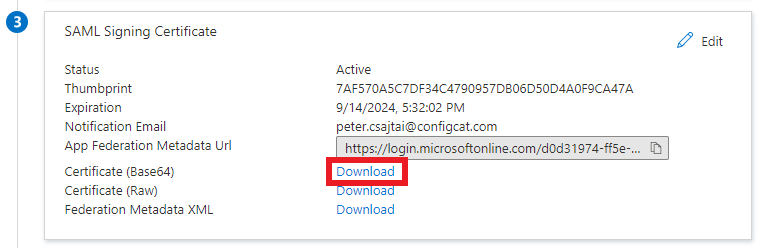
Copy the value of
Login URLand download theCertificate (Base64), then paste them into the Configuration dialog at ConfigCat.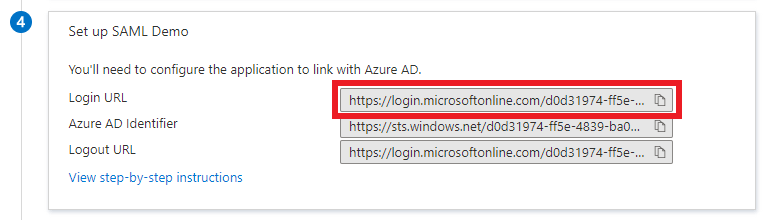
Select the trusted domains. Only user accounts from trusted domains can login with SAML SSO. You can bind multiple verified domains to a SAML Identity Provider.
Click on
Save.
4. Assign Users to the Enterprise Application
To let users authenticate via SAML, you need to assign individual users or groups to the Enterprise application.
-
Select
Users and groupson theManagesection of the menu.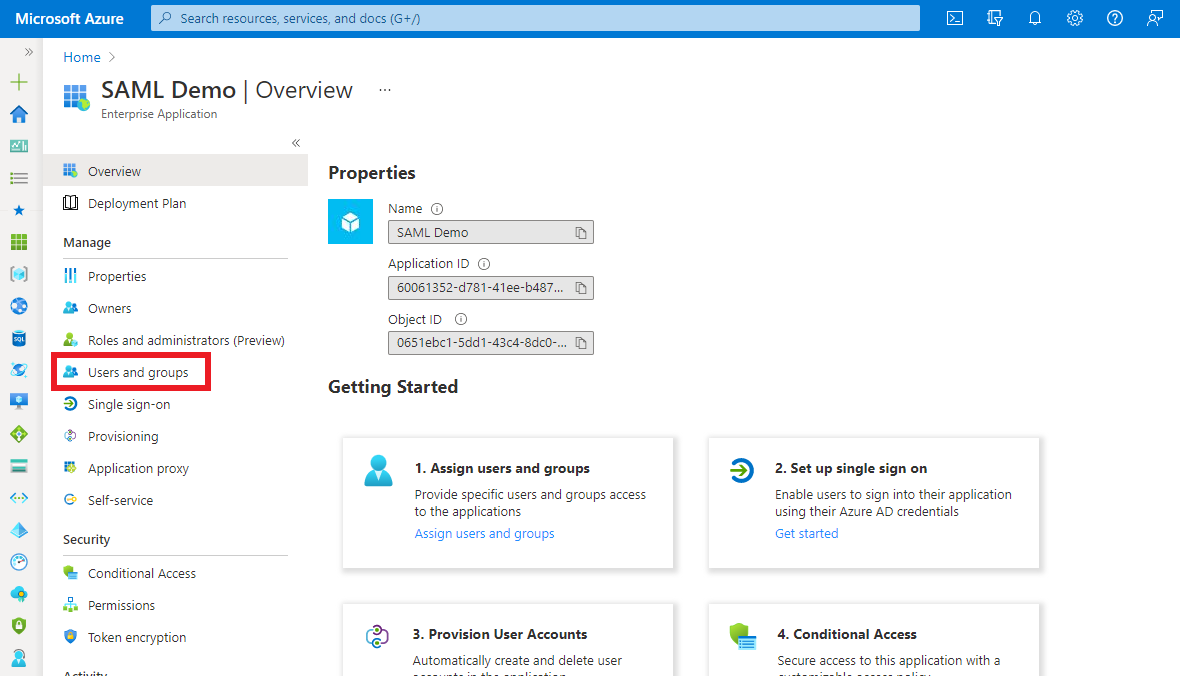
-
Click
Add user/group, then select the users or groups you want to assign.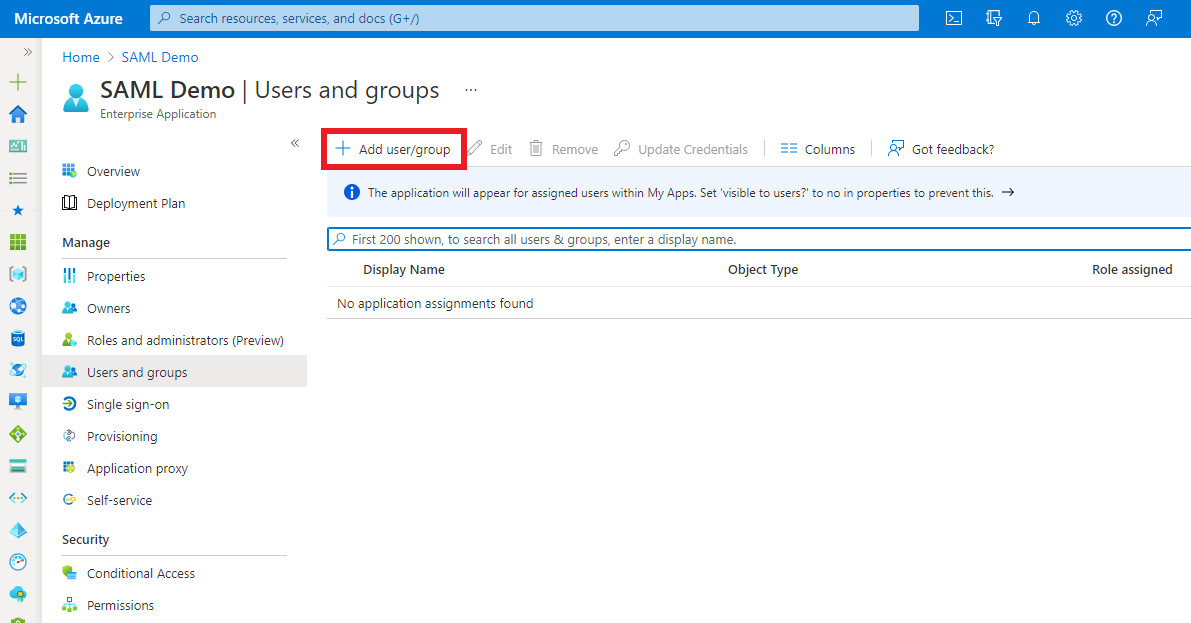
5. Sign In
-
Go to the ConfigCat Log In page, and click
COMPANY ACCOUNT - SAML.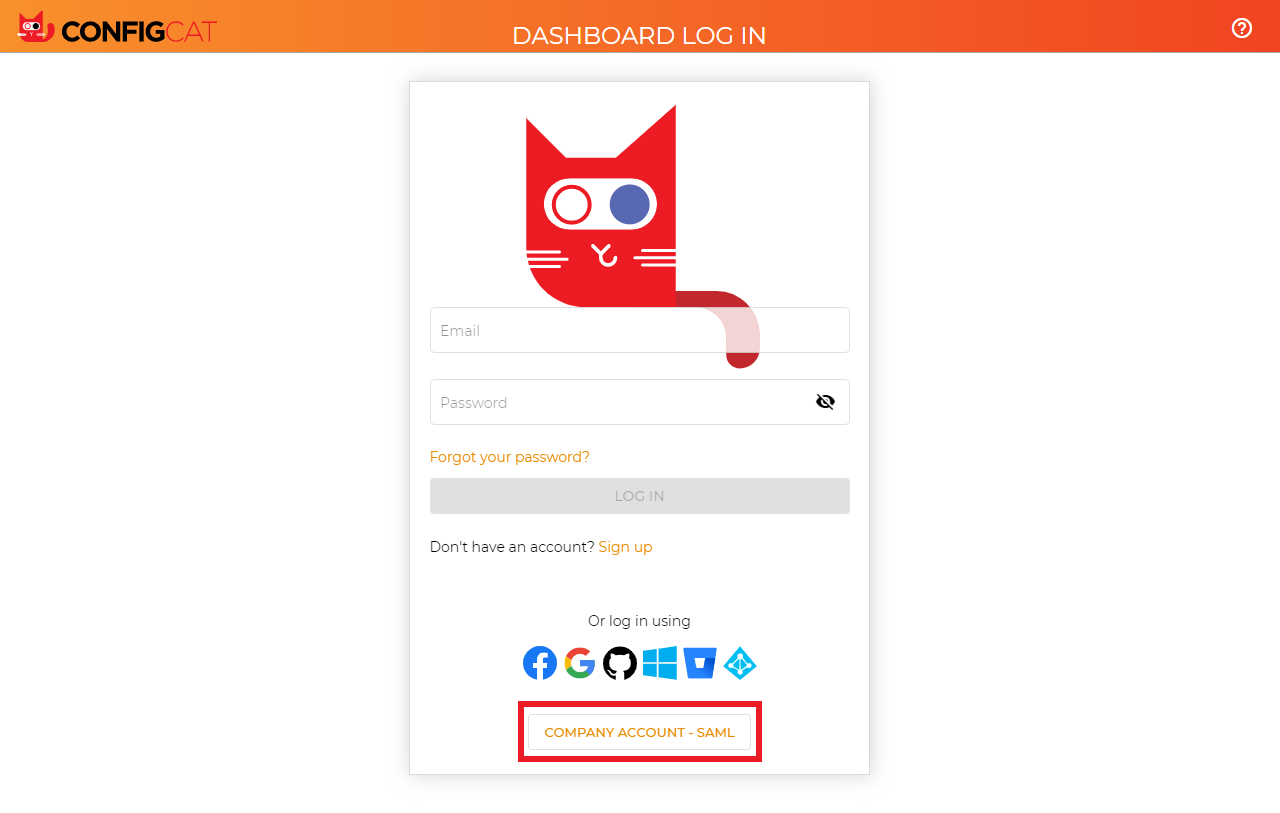
-
Sign in with your company email address assigned to the Enterprise application.
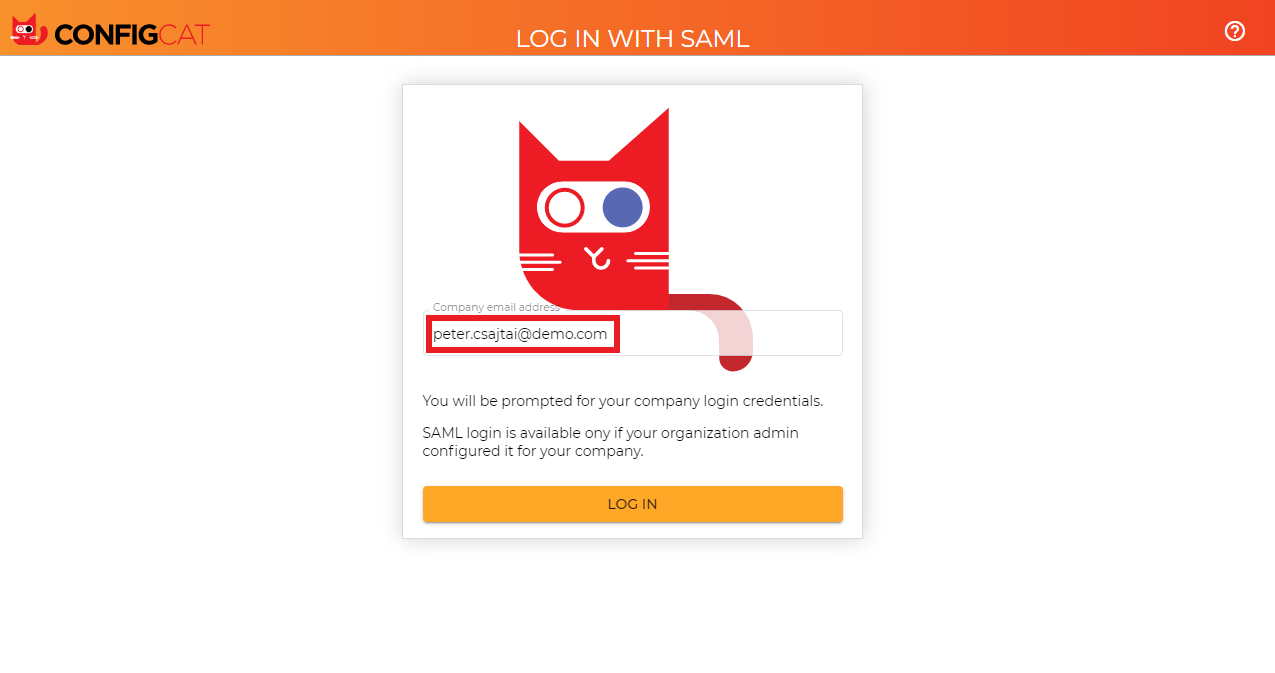
-
ConfigCat will redirect you to Microsoft's sign in page. Type your credentials for sign-in.
-
You should be redirected to ConfigCat signed in with your company account.
6. Next Steps
- Configure the auto-assignment of users.